
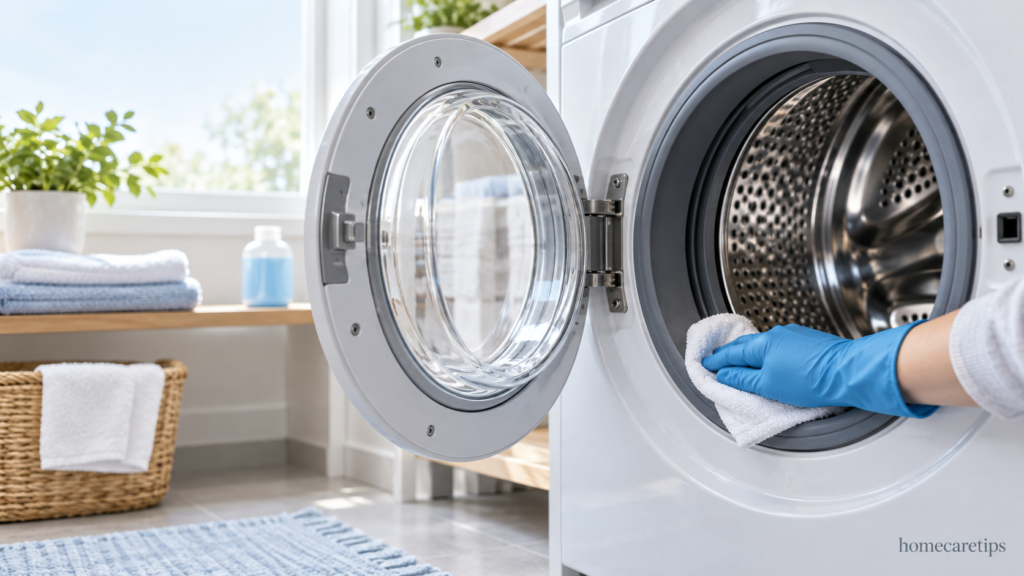
A washing machine cleans clothes, but detergent residue, fabric softener, lint and moisture can gradually build up inside the appliance. Over time, this buildup can cause unpleasant odours, leave residue on clothes and affect the cleanliness of the drum, detergent drawer and door seal.
Regular maintenance helps keep your washing machine fresh and allows you to notice potential problems before they become more serious. The good news is that many routine cleaning tasks can be completed at home without dismantling the machine.
However, washing machines differ by brand and model. Always check your washing machine’s user manual before cleaning it, particularly before using a cleaning product, removing a filter or running a maintenance cycle.
What You Need to Clean a Washing Machine
Prepare the following items before you begin:
- A soft cleaning cloth or microfiber cloth
- A small, soft-bristled brush or an old toothbrush
- Warm water
- A towel to collect drips and dry surfaces
- A washing machine cleaner, if recommended by the manufacturer
- Gloves, if required by the cleaning product instructions
Avoid abrasive pads, metal brushes and harsh cleaners that could damage the machine’s finish or rubber components.
Important safety tip: Never mix cleaning products. In particular, never mix bleach with vinegar, ammonia, acids or other cleaning products because dangerous fumes may be released. Do not assume that bleach or vinegar is suitable for your washing machine; use only products and methods approved for your model.
Step 1: Empty the Washing Machine and Check the Manual
Remove all clothes from the drum and check for coins, hairpins or other objects that may have been left behind.
Next, consult the user manual to identify the recommended cleaning method. Your washing machine may have a cycle labelled Tub Clean, Drum Clean, Self Clean or Clean Washer. The name and instructions depend on the model.
Some machines require a specific washing machine cleaner, while others are designed to run their cleaning cycle without an additional product. Using the wrong cleaner or adding ordinary laundry detergent to a dedicated cleaning cycle may cause problems.
If you no longer have the manual, look for your model number on the machine and search for the manufacturer’s official support instructions.
Step 2: Clean the Detergent Drawer
The detergent drawer can collect hardened detergent, fabric softener and other residue. If this buildup is ignored, it may contribute to unpleasant smells or interfere with the proper flow of laundry products.
Follow these steps:
- Remove the detergent drawer according to the instructions in your manual.
- Rinse the drawer and any removable compartments with warm water.
- Use a soft brush to loosen residue from corners and narrow channels.
- Wipe the compartment where the drawer sits, reaching only the areas you can safely access.
- Dry the parts before putting them back in place.
Do not force the drawer if it does not slide out easily. Some models have a release tab or a particular removal method. Forcing it may break the drawer or its fittings.
If the drawer contains hardened residue that does not come away easily, follow the manufacturer’s cleaning instructions rather than scraping it with a sharp object.
Step 3: Clean the Door Seal or Top-Loading Rim
For a front-loading washing machine, the rubber seal around the door can trap moisture, lint, hair and small objects. These materials may contribute to musty smells if they remain inside the folds.
To clean the seal:
- Open the door and inspect the visible rubber folds.
- Carefully move the accessible folds aside without stretching or pulling hard on the rubber.
- Remove loose lint, hair and small debris.
- Wipe the area with a soft cloth dampened with water or with a manufacturer-approved cleaning solution.
- Dry the seal with a clean towel, paying attention to areas where water collects.
Do not puncture the rubber seal or use sharp tools to remove debris. Avoid applying bleach or other strong products unless the manufacturer specifically permits them for your model.
For a top-loading washing machine, wipe the underside of the lid, the rim around the drum and other accessible surfaces with a soft, damp cloth. Keep moisture away from the control panel and electrical components.
If you notice torn rubber, persistent mould or water escaping around the door, contact the manufacturer or a qualified technician.
Step 4: Run the Recommended Drum-Cleaning Cycle
The drum-cleaning cycle helps remove residue and buildup from areas that cannot be reached by wiping alone.
To run it safely:
- Make sure the washing machine is empty.
- Select the cleaning cycle specified in your manual.
- Add a washing machine cleaner only if the manufacturer recommends one for that cycle.
- Follow the product label for the correct amount and placement.
- Start the cycle and allow it to finish.
- Once the cycle has ended, check the drum for visible residue and wipe it away if necessary.
Do not add clothes or ordinary laundry detergent during a dedicated drum-cleaning cycle unless the manual specifically instructs you to do so.
For example, Samsung’s Eco Drum Clean cycle is designed to run without laundry, and its cleaning-product instructions vary by model. This is why checking the manual is more reliable than following a universal cleaning recipe.
If your machine does not have a dedicated cleaning cycle, follow the manufacturer’s recommended alternative. Do not automatically substitute a hot wash or a homemade vinegar-and-baking-soda mixture.
Step 5: Check the Filter Only If It Is User-Accessible
Some washing machines have a lint filter or drain-pump filter that collects debris. Depending on the design, a blocked or dirty filter may contribute to drainage problems or unpleasant smells.
However, not every washing machine has a filter that the owner can safely remove.
Before attempting to clean one:
- Consult the manual to confirm whether your model has a user-accessible filter.
- Switch off the machine and disconnect the power before following the manufacturer’s cleaning procedure.
- Allow the machine to cool if necessary.
- Prepare a shallow container and towels if the manual warns that water may escape.
- Follow the exact instructions for opening, cleaning and replacing the filter.
Do not open a filter cover without understanding how to drain any trapped water. Do not force a stuck cover, reach into internal components or remove panels that are not intended for routine maintenance.
If you cannot find instructions for your model, leave the filter alone and contact the manufacturer or a qualified repairer.
Step 6: Clean the Exterior and Accessible Surfaces
Dust, detergent splashes and water marks can accumulate on the outside of a washing machine. Although these areas do not require the same treatment as the drum, keeping them clean improves the machine’s overall appearance and helps prevent residue from building up.
Use a soft cloth slightly dampened with water and, if permitted by the manufacturer, a small amount of mild detergent.
Wipe the lid or door, the exterior panels and the accessible areas around the detergent drawer. Then dry the surfaces with a clean cloth.
Never spray water directly onto the washing machine. Keep liquids away from buttons, displays, sockets and other electrical parts. Do not use abrasive cleaning tools that could scratch the finish.
Step 7: Dry the Washing Machine Properly
Moisture left inside the machine can contribute to musty odours, particularly when the door or lid remains closed between washes.
After cleaning:
- Wipe away visible water from the door seal, drum opening and other accessible surfaces.
- Make sure the detergent drawer is properly reinstalled.
- Remove any remaining cleaning-product residue according to the manual.
- If it is safe, leave the door or lid slightly open to allow air to circulate.
- Leave the detergent drawer ajar if the manufacturer recommends it and doing so is safe.
Keep the machine inaccessible to children and pets where necessary. Do not leave a door or drawer open if it creates a safety hazard in your home.
How Often Should You Clean a Washing Machine?
The correct cleaning schedule depends on the make, model, frequency of use and the type of laundry you wash. Your user manual should take priority over a general schedule.
The following routine is a practical starting point for ordinary household use.
After Every Wash
- Remove wet clothes promptly.
- Check the door seal or drum opening for trapped lint and visible moisture.
- Wipe away excess moisture when needed.
- Allow the interior to dry between washes if it is safe to leave the door or lid open.
Weekly
- Inspect the detergent drawer for residue.
- Wipe the accessible door seal, lid and detergent area.
- Check for unpleasant smells, visible buildup or trapped objects.
If you use your washing machine frequently or notice residue building up quickly, these areas may need attention more often.
Monthly or at the Manufacturer’s Recommended Interval
- Run the drum-cleaning or maintenance cycle if recommended.
- Clean the detergent drawer and its removable inserts.
- Inspect the drum and door seal for buildup.
- Check the user manual for any additional routine maintenance.
Some manufacturers recommend different intervals, so do not treat monthly cleaning as a universal rule.
According to the Manual
Clean the drain-pump filter, lint filter or water-inlet filters only at the recommended interval and only if the procedure is suitable for your model. Some filters require more careful handling than ordinary surface cleaning.
How to Prevent Washing Machine Odours
Cleaning the machine is important, but good washing habits can help reduce the buildup that causes smells to return.
Use the correct amount of detergent. More detergent does not necessarily mean cleaner clothes. Excess detergent can leave residue inside the machine. Follow the instructions for your detergent and washing machine.
Remove laundry promptly. Leaving damp clothes inside the drum for a long time can contribute to musty smells.
Allow the interior to dry. When safe, leave the door or lid slightly open between washes so moisture can escape.
Keep the detergent drawer clean. Rinse away residue before it hardens, and make sure the drawer dries properly.
Check the seal regularly. Remove visible lint, hair and trapped objects before they accumulate.
Follow maintenance reminders. If your washing machine displays a cleaning reminder, consult the manual to understand what the message means and how to respond.
Do not rely on homemade mixtures. Vinegar, baking soda and other household products are not suitable for every washing machine. Use a cleaning method approved for your appliance.
What to Do If Your Washing Machine Still Smells After Cleaning
If an unpleasant smell remains after you have cleaned the accessible areas and completed the recommended maintenance cycle, avoid repeatedly adding stronger cleaning products.
Instead, consider the following possibilities:
- The smell returns quickly: Residue or moisture may remain in an area that needs further attention.
- Water remains in the drum: Check the manual for safe basic troubleshooting. A drainage problem may require professional attention.
- The machine drains slowly: A filter, drain hose or another component may need inspection.
- You notice water leaking: Stop using the machine if it is unsafe to continue, and arrange an inspection.
- The smell resembles burning or you notice smoke: Stop the machine, disconnect power only if it is safe to do so, and seek qualified assistance.
- The seal is damaged or mould keeps returning: The affected part may need specialist cleaning, repair or replacement.
Do not dismantle the machine to investigate an internal problem. Contact the manufacturer or a qualified technician if the cause is unclear or the problem continues.
Common Washing Machine Cleaning Mistakes to Avoid
Avoid these mistakes when maintaining your appliance:
- Running a cleaning cycle with clothes inside when the manual requires an empty drum.
- Adding ordinary detergent to a dedicated drum-cleaning cycle without checking the instructions.
- Mixing bleach, vinegar, ammonia or other cleaning products.
- Forcing a detergent drawer, filter or cover that will not open normally.
- Using sharp tools or abrasive pads on rubber seals and finished surfaces.
- Spraying water directly onto the control panel or electrical parts.
- Ignoring persistent odours, drainage problems, leaks or damaged seals.
- Assuming every washing machine uses the same cleaning products and maintenance schedule.
Following the manufacturer’s instructions helps you avoid damage while carrying out routine maintenance.
Conclusion
A clean washing machine helps keep laundry areas fresher and makes it easier to spot maintenance problems before they become more serious. By cleaning the detergent drawer, wiping the door seal or top-loading rim, running the recommended drum-cleaning cycle and allowing the interior to dry, you can reduce residue and moisture buildup.
Remember that the safest cleaning method is the one recommended for your exact washing machine model. If unpleasant odours, leaks or drainage problems continue after routine cleaning, seek help from the manufacturer or a qualified technician rather than attempting to dismantle the appliance.
Sources and Further Reading
For model-specific instructions, consult these official manufacturer resources:
- Samsung Africa: How to Clean the Drum and Door Seal on a Washing Machine
- LG Australia: Washing Machine Cleaning and Maintenance Guide
- Samsung: How to Clean Your Washer
Always use the instructions for your particular model, as cleaning cycles, approved products and filter designs can vary.