
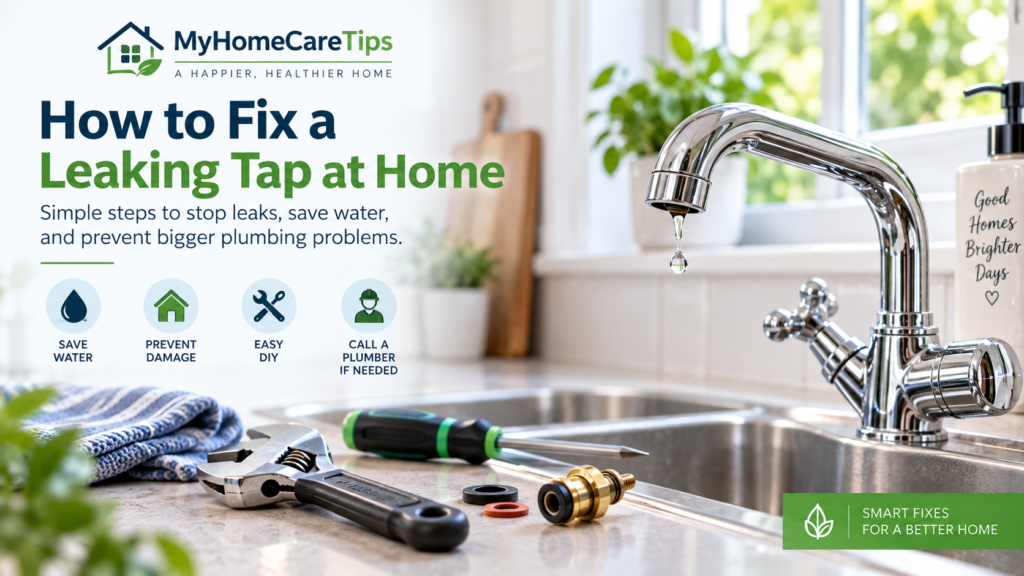
A leaking tap may seem like a minor household problem, but a persistent drip can waste water, create annoying noise, and leave mineral stains around your sink. If the leak is caused by a worn washer, a damaged seal, or a faulty cartridge, you may be able to resolve it with basic tools and the correct replacement part.
However, not every tap uses the same mechanism. Before attempting a repair, identify the type of tap you have and check whether the problem is coming from the spout, the handle, or the connection beneath the sink.
Why Is Your Tap Leaking?
Understanding the source of a leak helps you avoid replacing the wrong component.
1. A Worn Washer
Some traditional compression taps use rubber washers to create a watertight seal. Over time, a washer may become brittle, flattened, or damaged. When this happens, water may continue dripping from the spout even when the tap is fully closed.
2. A Damaged Cartridge
Many modern single-handle taps use a cartridge to control water flow and temperature. If the cartridge becomes worn or damaged, the tap may drip when closed or leak around the handle.
3. A Worn Seal or O-Ring
Small rubber seals and O-rings help prevent water from escaping around moving parts. A damaged seal can cause moisture to appear around the handle or base of the tap.
4. A Loose or Damaged Connection
If water appears beneath the sink or around the tap’s supply connections, the problem may involve a loose fitting, damaged hose, or deteriorated seal rather than the tap’s internal mechanism.
Tools and Materials You May Need
Gather the following items before beginning:
- An adjustable spanner or the appropriate tool for your tap.
- A screwdriver that fits the handle screw.
- A replacement washer, cartridge, or seal that matches your tap model.
- A small cloth or towel.
- A container to catch residual water.
- The manufacturer’s instructions, if available.
You may not need every item. The correct replacement part depends on the tap’s design, so avoid purchasing a washer or cartridge until you have identified the existing component.
How to Fix a Leaking Tap
Step 1: Identify Where the Water Is Escaping
Close the tap and dry the surrounding area with a cloth. Observe where the water appears.
If water continues dripping from the spout, the internal sealing mechanism may be worn. If moisture appears around the handle, a seal or cartridge may be faulty. Water beneath the sink may indicate a supply connection or hose problem.
Identifying the leak first helps you choose the appropriate repair.
Step 2: Turn Off the Water Supply
Close the isolation valve supplying the tap, if one is fitted and operates safely. If you cannot identify the correct valve, turn off the main water supply.
Open the tap to release the remaining water and relieve pressure. Place a towel or container beneath the work area to catch any water left in the pipe.
Never dismantle a tap while its water supply remains pressurised.
Step 3: Remove the Tap Handle
Look for a visible screw or a decorative cap covering the handle screw. If there is a cap, remove it gently using an appropriate tool that will not damage the finish.
Use the correct screwdriver to loosen the retaining screw, then lift the handle away carefully. Do not force it if it is stuck, as excessive pressure can break plastic parts or damage the tap’s finish.
Consult the manufacturer’s instructions if the handle design is unfamiliar.
Step 4: Inspect the Internal Component
Depending on the tap, you may find a washer, valve mechanism, ceramic disc assembly, or cartridge.
Remove the relevant component only if the manufacturer’s instructions support this repair. Check for visible wear, cracks, deformation, or damaged seals. Take the old component with you when buying a replacement if you are unsure of its size or model.
Do not assume that every leaking tap needs a new washer. Some modern taps use cartridges or other mechanisms that require different replacement parts.
Step 5: Replace the Faulty Part
Fit the correct replacement washer, cartridge, or seal according to the manufacturer’s instructions. Ensure that the component sits properly in its housing and that any seals are positioned correctly.
Avoid forcing the part into place or overtightening retaining nuts. Excessive force can damage threads, crack plastic components, or create another leak.
If the internal mechanism is corroded, seized, or difficult to remove, stop and consult a qualified plumber.
Step 6: Reassemble the Tap
Reinstall the valve or cartridge and any retaining components in the correct order. Secure the handle and replace any decorative cap.
Make sure all components are correctly aligned before tightening them. If you cannot remember the arrangement, refer to the manufacturer’s instructions rather than guessing.
Step 7: Restore the Water Supply and Test
Slowly reopen the isolation valve or main water supply. Check the tap and the area beneath the sink for signs of leakage.
Open and close the tap several times, then inspect the spout, handle, and connections. If water continues escaping, shut off the supply and reassess the problem rather than repeatedly tightening parts.
What If the Tap Still Leaks After Repair?
A tap that continues leaking may have a damaged valve seat, an incorrectly fitted cartridge, a worn internal seal, or a problem that was not identified during the initial inspection.
Turn off the water supply before carrying out any further inspection. If the replacement part fits correctly but the leak persists, a plumber can identify whether the tap needs additional repair or replacement.
If the leak originates from a pipe or connection beneath the sink, treat it as a separate plumbing problem rather than assuming the tap mechanism is responsible.
When Should You Call a Plumber?
Seek professional help if:
- The water supply valve will not close properly.
- The tap is badly corroded or difficult to dismantle.
- Water is leaking from concealed pipework or a damaged connection.
- The tap continues leaking after the correct component has been replaced.
- You discover a cracked fitting or damaged pipe.
- You are unsure how to remove or reinstall the internal mechanism safely.
For a substantial leak, turn off the main water supply if you can do so safely. Keep water away from electrical outlets and equipment.
How to Prevent Future Tap Leaks
Simple habits can help reduce unnecessary wear and catch problems early.
- Close taps gently instead of forcing the handle.
- Check the tap base and surrounding surfaces periodically for moisture.
- Investigate dripping promptly rather than allowing the problem to continue.
- Clean mineral deposits using a method approved for the tap’s finish.
- Replace worn components with parts compatible with the tap model.
- Check beneath sinks occasionally for dampness around supply hoses and connections.
Conclusion
Fixing a leaking tap may be straightforward when the cause is a worn washer, damaged seal, or replaceable cartridge. The most important steps are to identify the source of the leak, isolate the water supply, use the correct replacement part, and test the tap carefully after reassembly.
Not every tap uses the same mechanism, and some leaks originate from pipe connections rather than the tap itself. If the repair becomes difficult or the leak persists, seek help from a qualified plumber before a small problem causes further damage.